Ryedale Woodturners
This website is being updated from August 2022. This is an archive page.

RICHARD FINDLEY
Thursday 5 May 2016
Snainton Woodturning Supplies
Richard Findley travelled up from Leicester to talk to us and demonstrate how to make a table lamp. Sounds simple enough, but the wealth of detail revealed by him turning this apparently straightforward item was immense.
The base
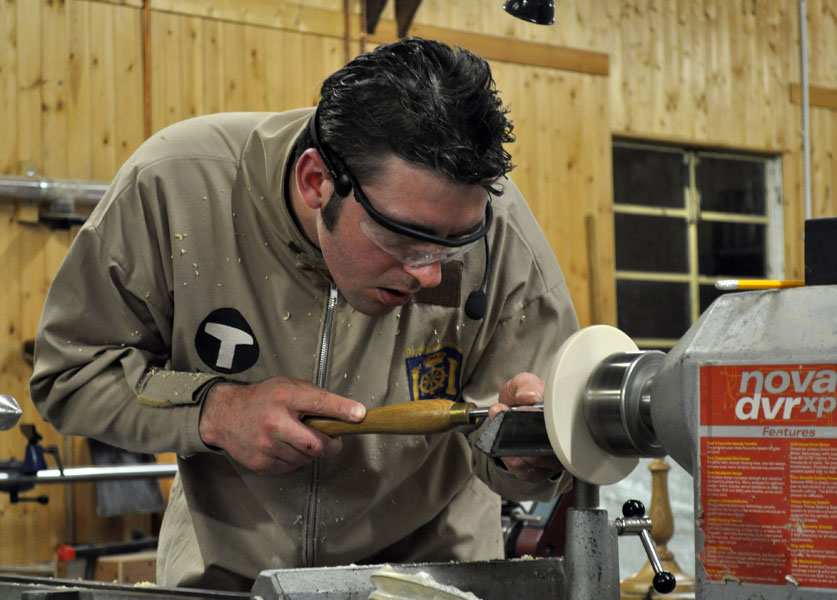
Every aspect of the two piece construction was explored and used as an opportunity to explain tool techniques, the properties of timber, design and production methods. The result was a highly informative and entertaining evening.

Richard used pine for the turning, partly to show that pine can be turned successfully, and partly because “I’m not going to waste good oak on you lot!” The base was a 6 x 2 disc, essentially faceplate turning but turned with spindle techniques, and the stem was a 2” square length. The design was based on a shape in the book Classic Forms by Stuart Dyas.
Richard started with the base, because it would have a mortise hole in the top, and it is easier to fit a tenon to a mortise than the other way round. It was held on a screw chuck to start. Normally he prefers a spigot for holding faceplate work – using a recess on bowls usually makes the base too deep – but this base needs a recess for the wire anyway so that is what it got. Cup shaped with a lip, not cylindrical.
 A hole was drilled through the side for the flex before the bottom was finished – so any splinters from drilling were removed by the final cut.
Despite this being a hidden part of the lamp, great care was taken to achieve a smooth finish. Inevitably some tear out would happen as parts of a faceplate turn are always going to be against the grain. A little “magic spray” was applied, (sanding sealer or any other finish), to hold the grain down on a final cut.
The base was reversed and a 20mm hole was cut in the top to 20mm depth, to act as a mortise for the stem. This allowed sufficient thickness between the hole and the recess. The whole base was turned as if it were a spindle, using a spindle gouge. Tea break.
Gallery of work
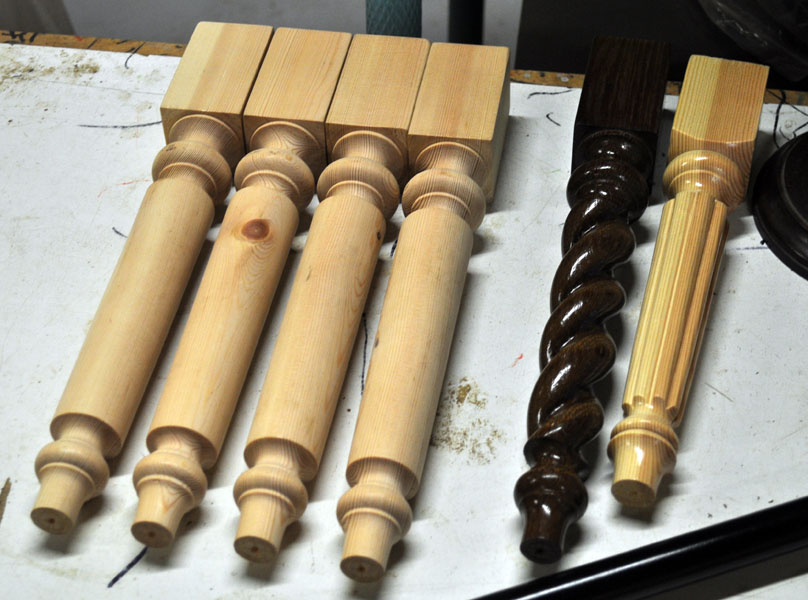
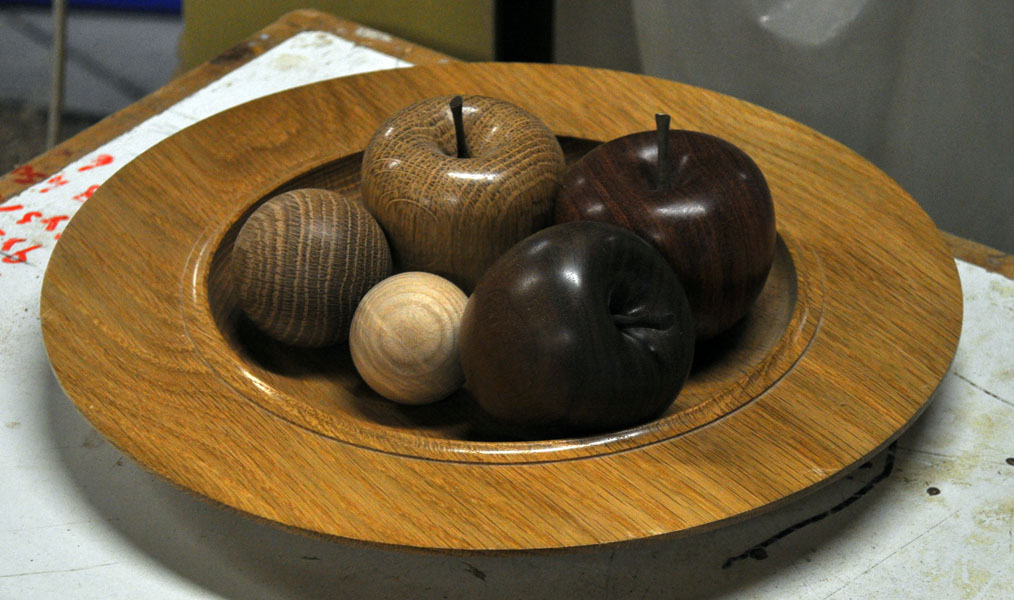
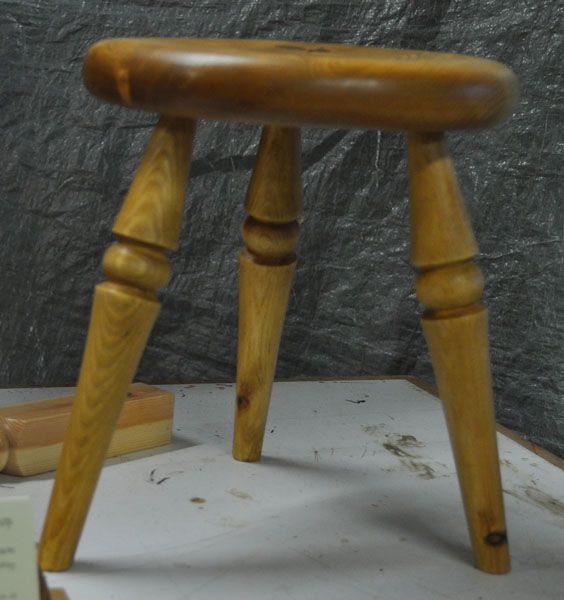
A selection of work Richard brought along on the evening.



The stem

The square section length which was to make the stem of the lamp was held in chuck jaws ready to drill a hole through for the wire. Richard used a long 10mm lip and spur drill that was glued into a simple wooden handle, which, having made a small indent with a spindle gouge to get the drillbit seated, he simply pushed through the spindle to about half way.
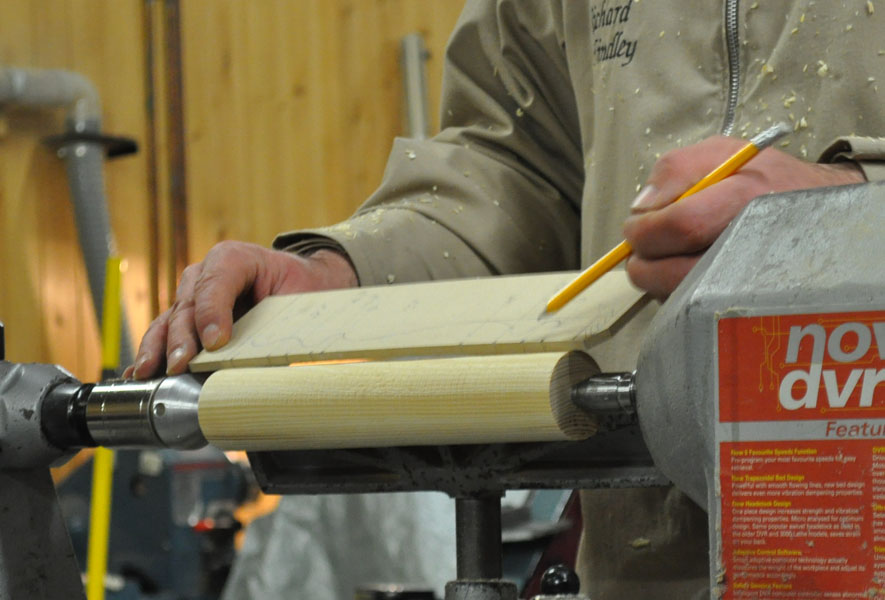
He then turned the block round and completed the job from the other end. The chuck was removed and the spindle was then held by friction between two pointed centres. It was marked out using an MDF template which had been notched to mark key borders of beads and coves.

Beads first, coves last (positives, then negatives). Richard went into considerable detail about rolling a bead, enlisting (or enforcing) help from Brian through the video and TV.

Although Brian had to stand up for a while, it was well worth it as Richard made the most of the close ups to show us: that you must complete the cut – not leaving an end grain ring which would not sand out – and that if using a skew you only use the tip of the tool – witnessed by where the fine dust appeared on the tool blade. Also look for a groove and a feather, and push this through to the end of the bead. A spindle gouge could be used as long as a little forethought with design ensured no beads tight up against any shoulders.
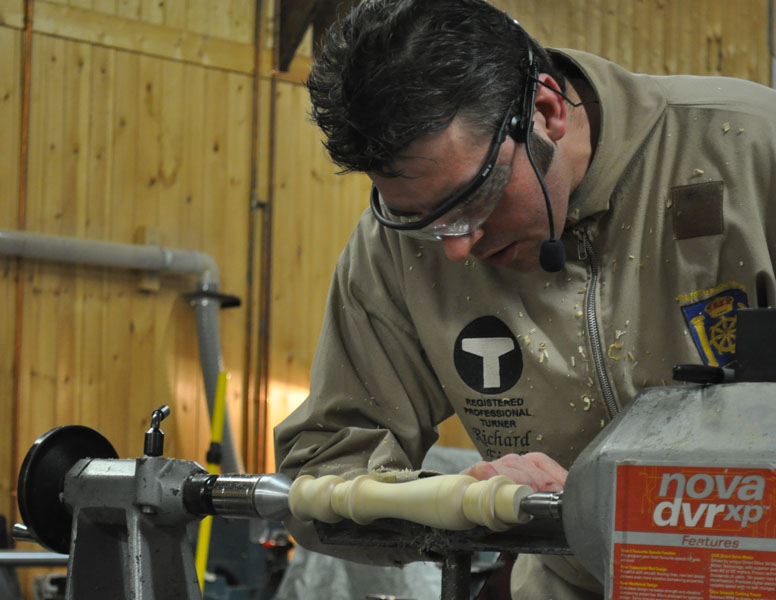
The design had a tulip at the top and a stretched tulip further down. This was planed to a tidy finish using a skew for a planing cut – only the bottom half of the blade must be in contact during this cut.
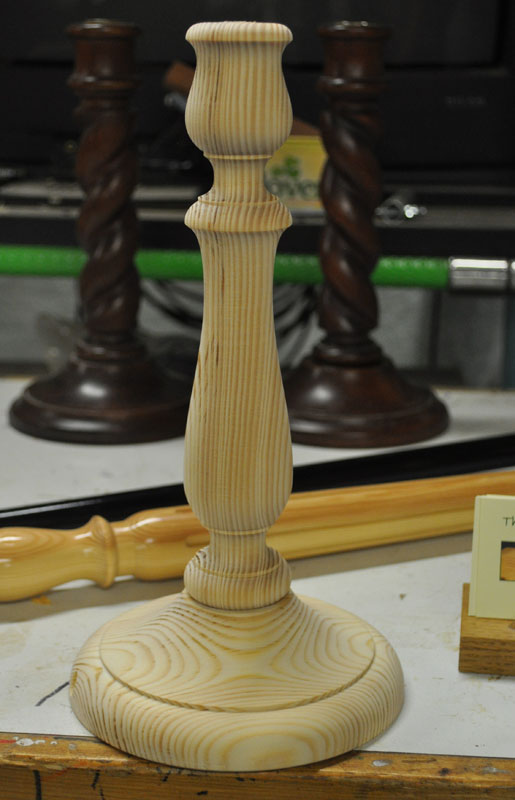
The tenon was cut to fit at 20mm. When tested it was a little small. Tenons can me made bigger! Cutting a groove or grooves at an angle pushes up swarf, that gives the extra tightness to the fit. Ably demonstrated by the tight fit without glue as the lamp was passed around.
Finally Richard has a few words about electrics: important if you are selling table lamps. 3 metre length maximum flex, 3 amp fuse, metal fittings must be earthed, and flex must be secured in place. A PAT test certificate is useful, though not essential. The same applies to a CE Mark.
Hints and tips
- If you experience any problems when turning, the first thing to do is sharpen your tools
- Turn shapes using your body rather than wrist or arm – this will reduce unwanted lumps and bumps.
- Putting a fillet in between context and concave curves breaks up the line well
- When gluing put the glue in the hole and not on the tenon.
- Timber turned into a circle can go oval with the grain. The old chair makers knew that when fitting two pieces together, putting the grain at right angles makes the oval effect strengthen the joint rather than weaken it.