Ryedale Woodturners
This website is being updated from August 2022. This is an archive page.
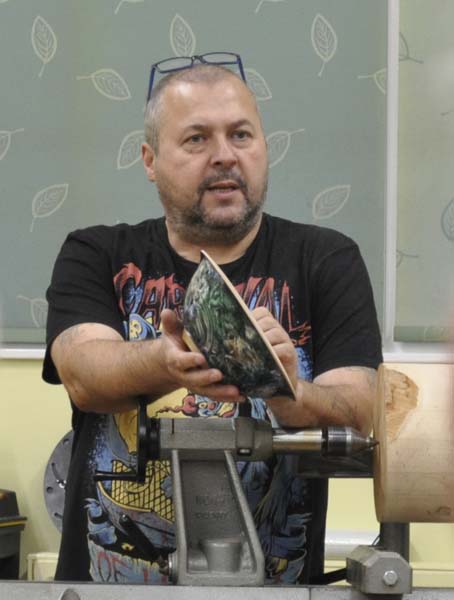
Mick Hanbury
Thursday 7 September 2017
Snainton Village Hall
Mick demonstrated turning an ogee shaped bowl coloured with iridescent paint designs on the outside, plain wood on the inside.
The turning
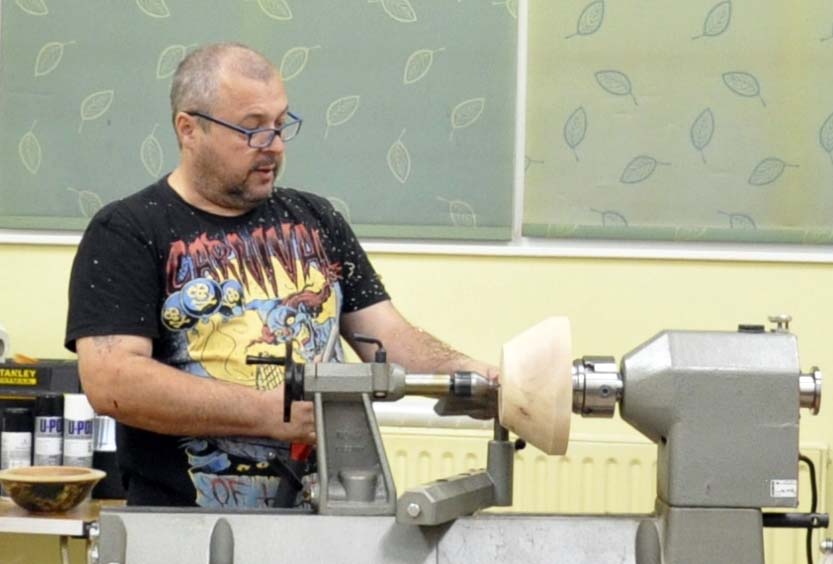
Mick started with a block of sycamore, evenly grained, some dark spots, a grey area which might have silicon in it - and hence would blunt chisels. All would be revealed as it was turned - (In fact it turned out to be very nicely patterned.)
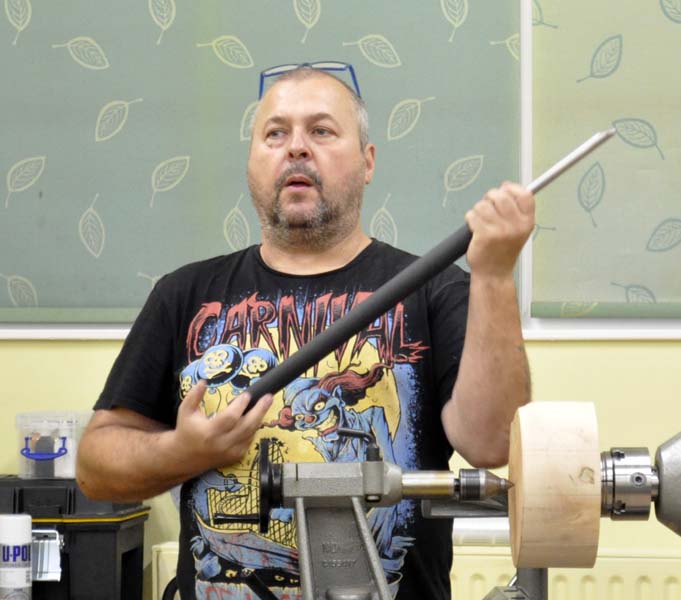
Mick was using some new tool handles made by his friend Simon Hope. Colour coded for different diameter blades, which are held using an allen key - which is held conveniently in a plug on the bottom of the handle.
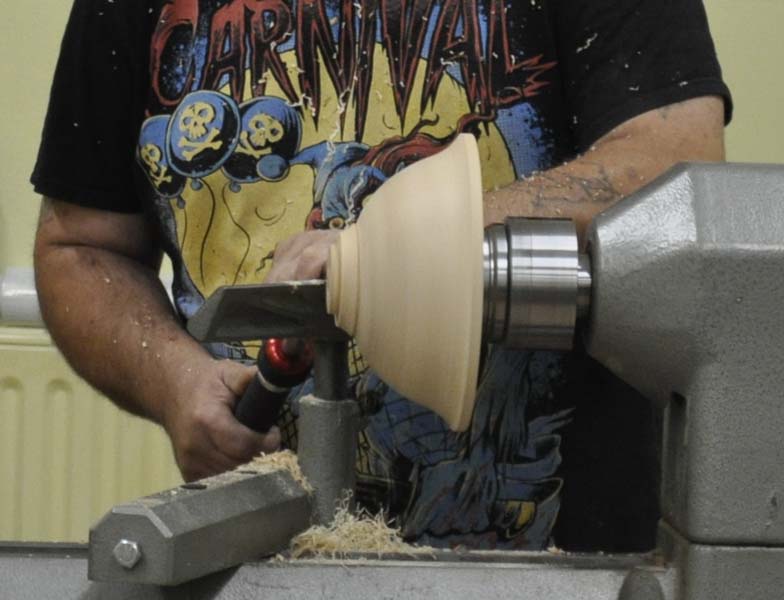
With the bowl shaped with a good final cut leaving a smooth surface, Mick started sanding at 180 grit, using his liquid paraffin and wax mix to cut down the dust, and to fill the grain with a wax/oil/dust slurry. As long as the oil is burnished off with a paper towel, the surface will accept lacquer without a problem.
Colouring

Mick suggested that the initial black base for the iridescent paints could be a cheap basic matt black aerosol, rather than using a more expensive Chestnut eboniser - save this for the final coat of the black base.

Jo Sonja iridescent paint colours were then squeezed in to some cheap throw-away cups (Asda) ready for decorating. Mixed with 40% flow medium, mixing from light to dark so the mixing stick did not need wiping.
One point made was that it pays to clear the dust away before any painting operations.
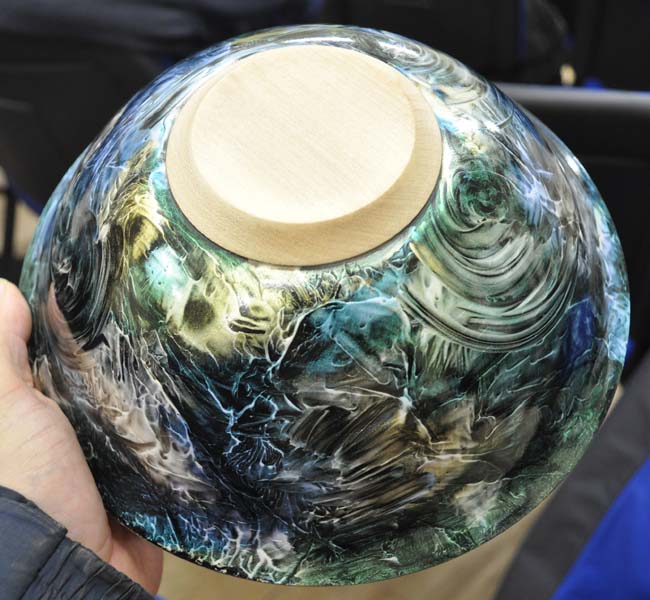
Painting is done with minimal planning - just go with it. Mick suggested grandchildren are worth employing for this stage - they just daub paint instinctively without thinking about it, the best way. At this stage move from dark to light when applying the paint.

With the paint still wet, a sheet of cling film was applied to the surface (inside face down, there is apparently a difference), then hand pressure applied here and there to further mix the paint. A can of air was then used to provide a few seaweed-like streaks - a cheap (and easier to bring to demonstrations) alternative to an air compressor.
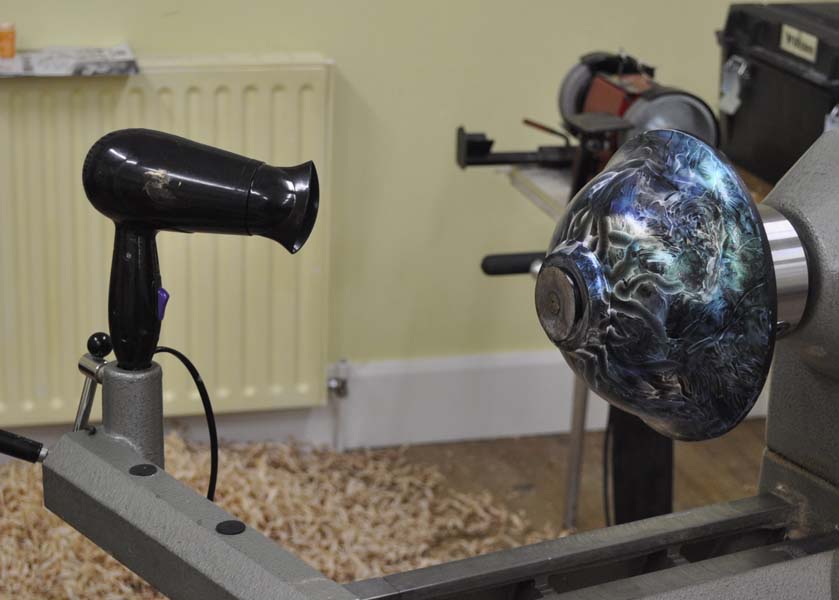
In his workshop Mick would leave the bowl for a couple of hours and do something else. Alternatively, use a hair dryer (not a heat gun - too hot), which can be propped in the toolrest if you don't feel like holding it patiently.
Finishing
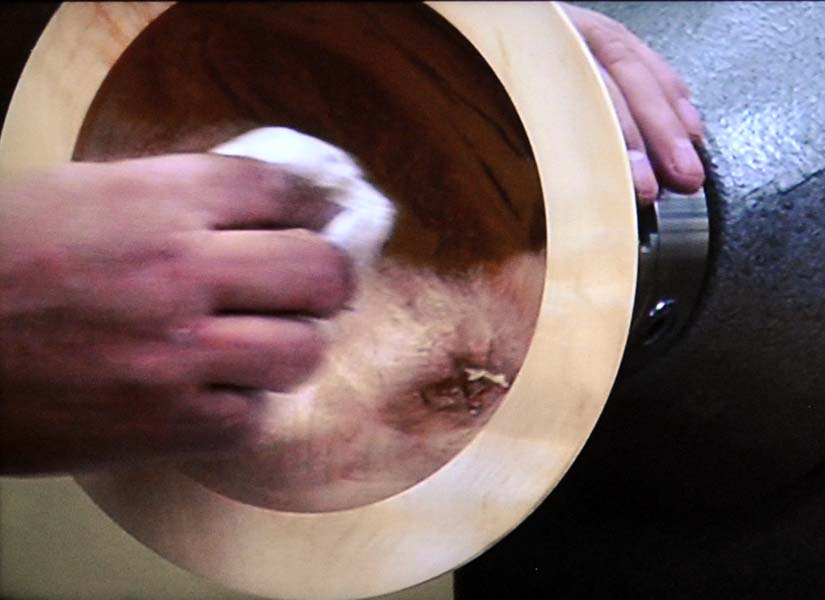
The bowl was reversed and the inside turned. This allows the appealing grain patterns of the block to show. Left about 3/4" thick, to give weight. Sanded with the Hanbury mix again, finished with Yorkshire grit. Burnished with kitchen roll.
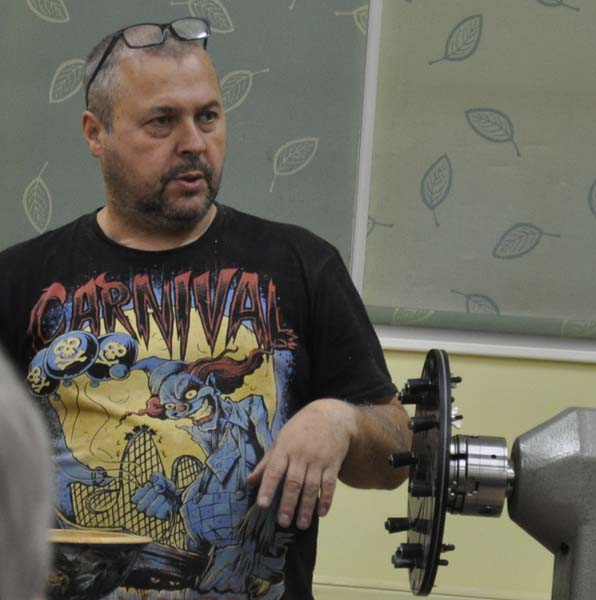
The bowl was then reversed and held in a Longworth chuck. Back in his workshop Mick would probably use a vacuum chuck, but not until the paint had thoroughly dried, as the vacuum would suck it out of the wood.
Longworth chucks have the edge over Cole jaws in the smooth finding of the correct radius for the holding studs.
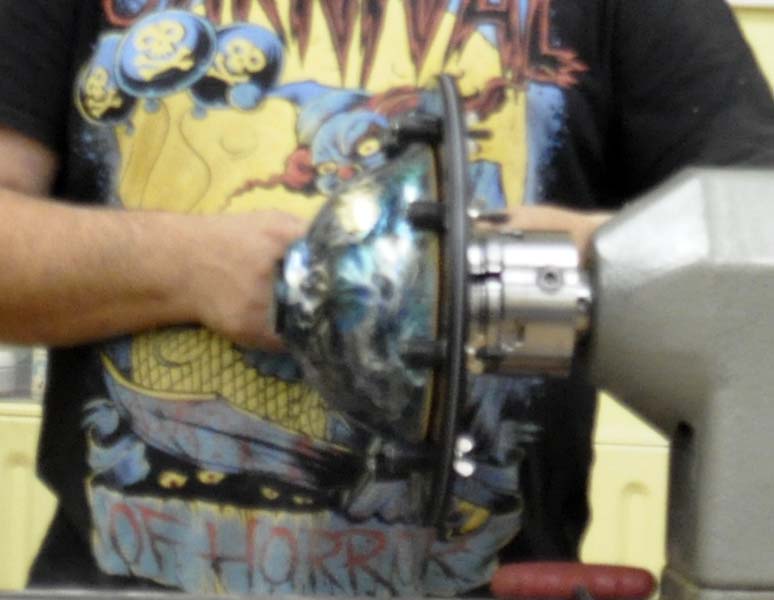
With the bowl held gently (too much pressure and you end up with indentations in the rim) the spigot at the bottom was turned off, and a band of paint was turned away to leave the natural wood. This band and the top rim provides a frame for the paintwork.
The finished bowl. How long did it take to create? About 25 years - an hour in the turning and painting, and 25 years in building up the experience to be able to complete it so quickly and efficiently.
Hints and tips
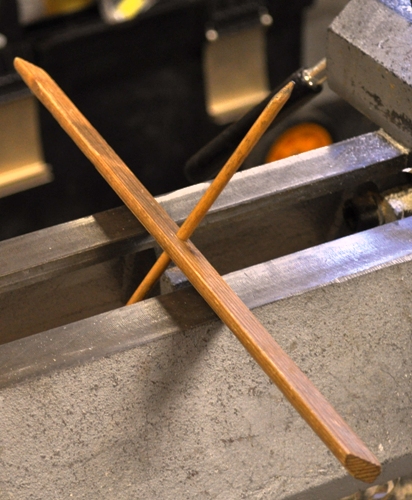
- Mick's simple depth gauge surfaced again. This one did have a plus and minus scale on the dowel.
- Some of Mick's hints employ great imagery to help remember. For example, remember the wallet in your pocket - where you put the end of your bowl gouge and keep it, moving your body, not the gouge.
- Another one was the two twenty pound notes - tucked under your armpits, you are going to hold on to them by keeping your arms braced against your body, which is the ideal position to hold your gouge when taking out the centre of a bowl - again it makes you move your body and not raise your tool.
- Listen carefully to the sound of your turning - a big indicator of whether your tool is blunt or sharp.
- Moisture content of 17% is ideal. 20% is good though the wood might move a little more. Less than 17 may be a bit dusty.
- If your tool skids, you need to lower the handle. Start low, then raise gently to engage
- Don't peek in to a bowl when hollowing out - it tends to raise your tool and then it will skid. Instead stand a little further back and focus on the far side of the bowl's inside.
A few pictures of Mick Hanbury's exhibits and a couple of members' turnings
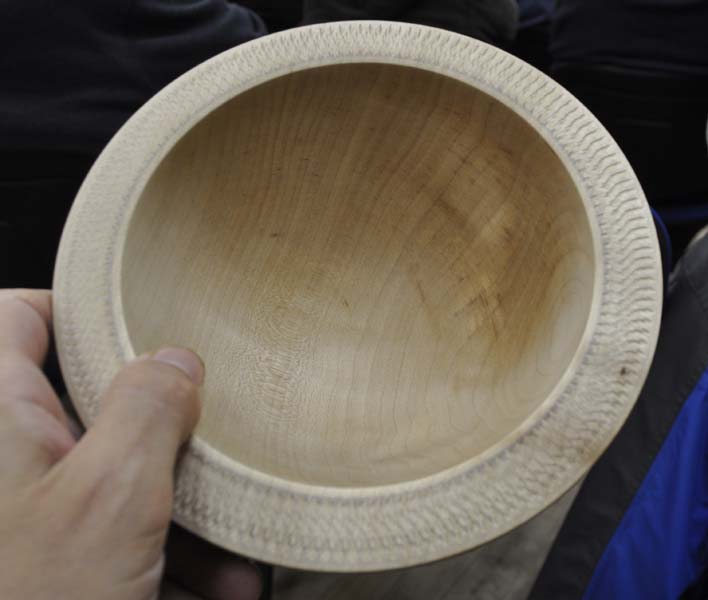
Mick Hanbury bowl 1 inside
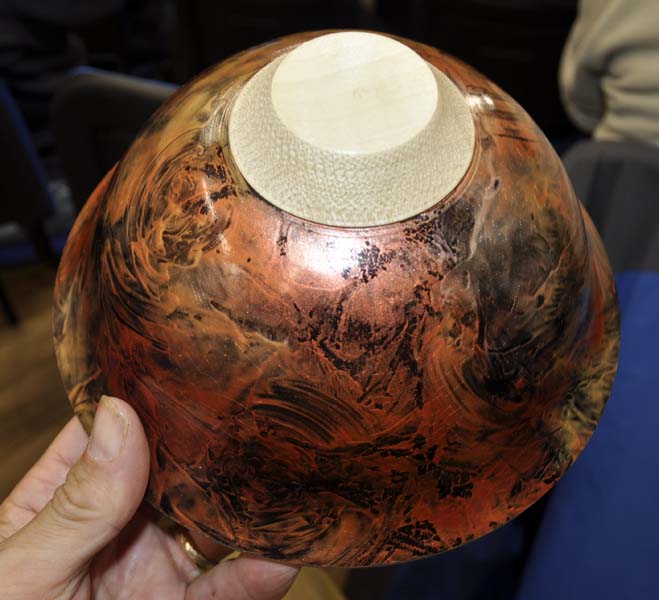
Mick Hanbury bowl 1 outside
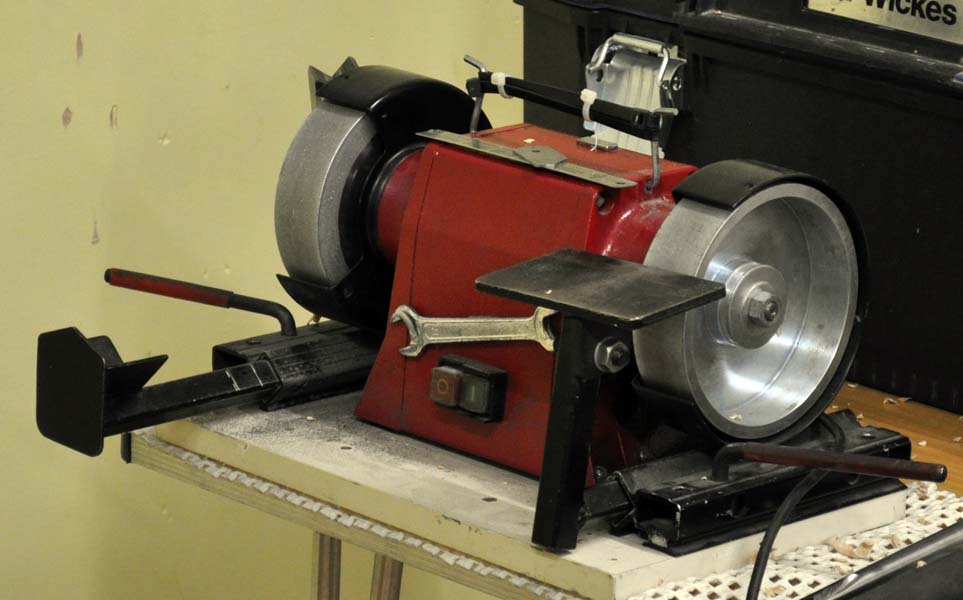
Mick's grinder - £800 ish
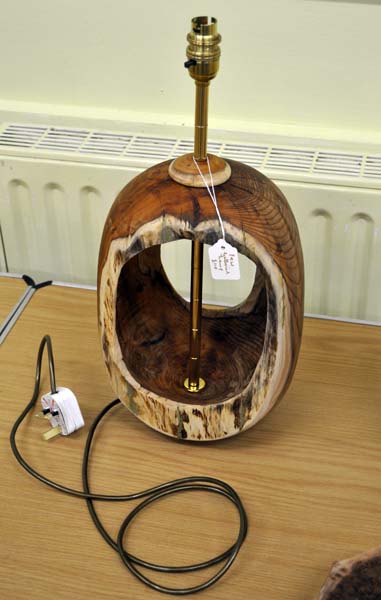
Members turning - lamp base
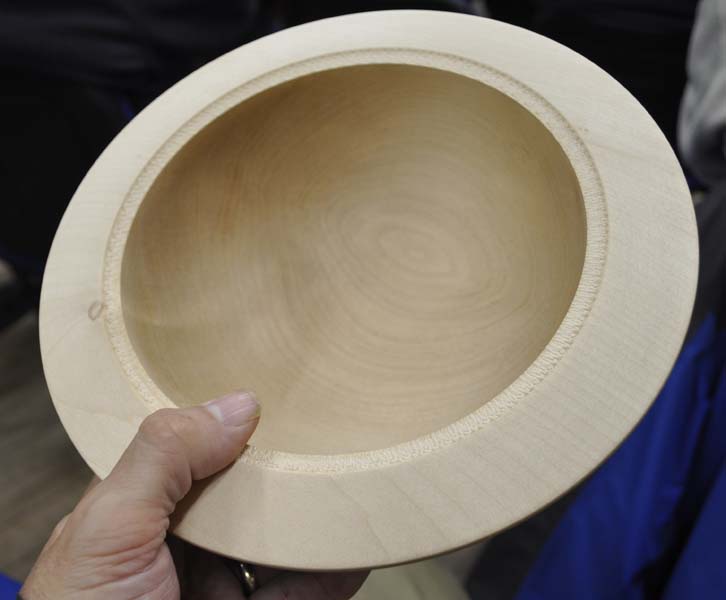
Mick Hanbury bowl 2 inside
Mick Hanbury bowl 2 outside

New Simon Hope handles
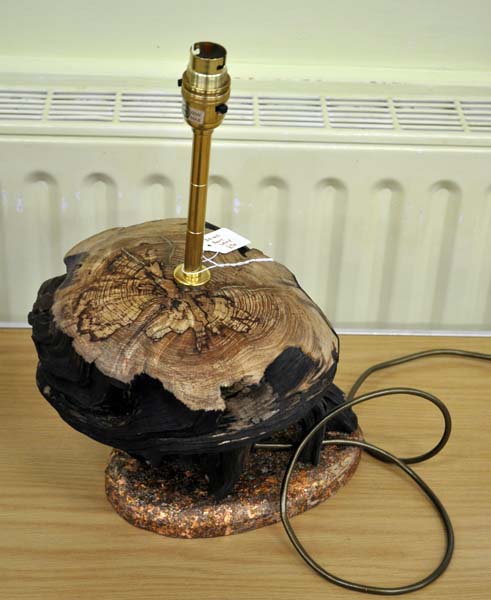
Members turning - lamp base
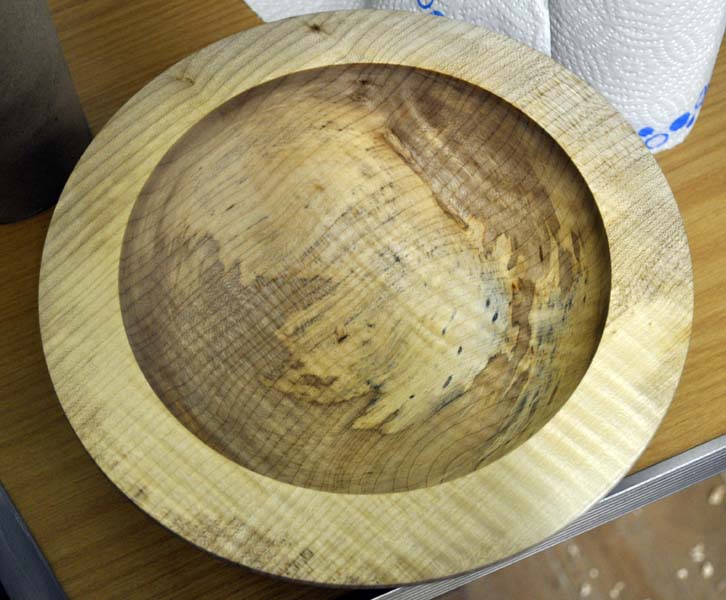
Mick Hanbury bowl 3 inside
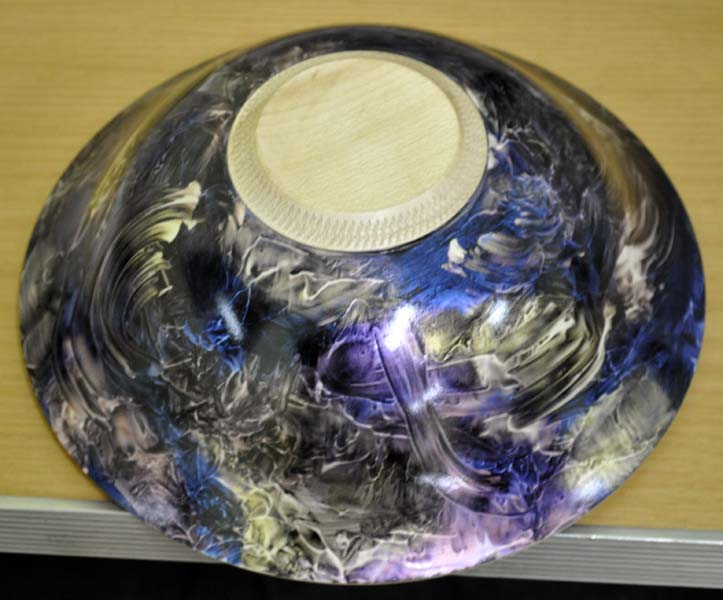
Mick Hanbury bowl 3 outside

Members turning - burr bowl
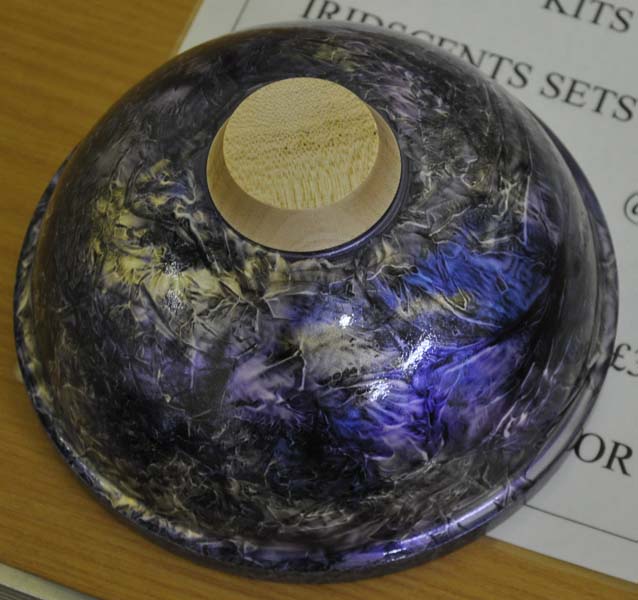
Mick Hanbury bowl 4
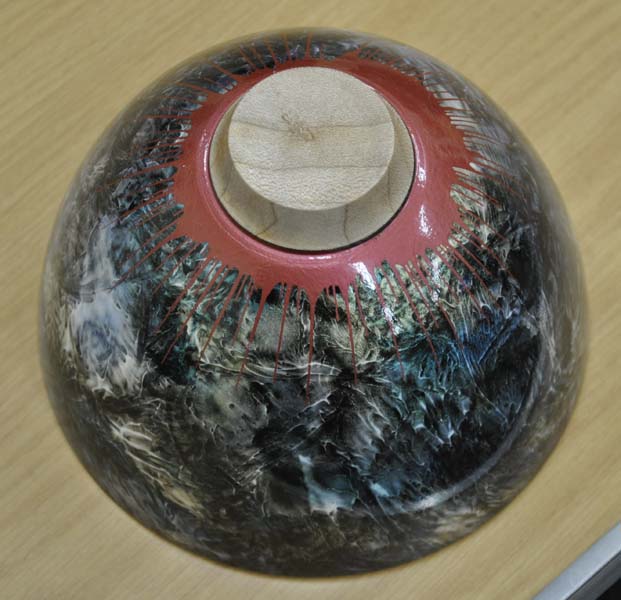
Mick Hanbury - "eye" pattern
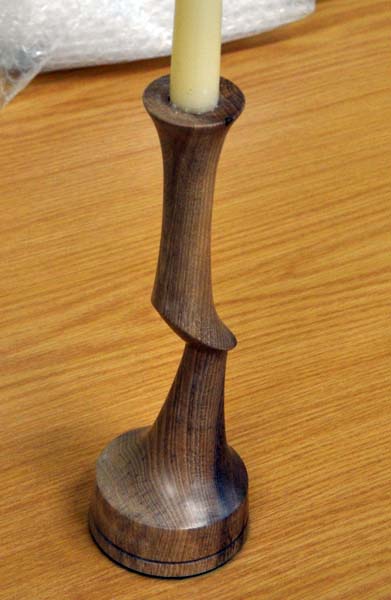
Members turning - off centre candlestick