Ryedale Woodturners
This website is being updated from August 2022. This is an archive page.
Thursday 7 July 2022
Snainton Village Hall
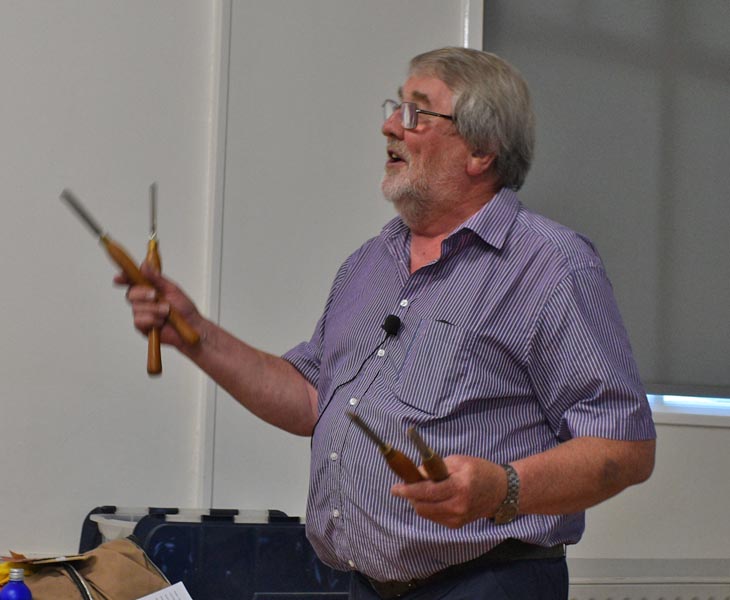
Our former chairman (2017 - 9), Keith Harte, gave us a history lesson on Keith Harte: 60 Years a Woodturner, and Chess, followed by a description of how he made his chess set, and a demonstration of some jigs and techniques used for a couple of the pieces.
Keith's background
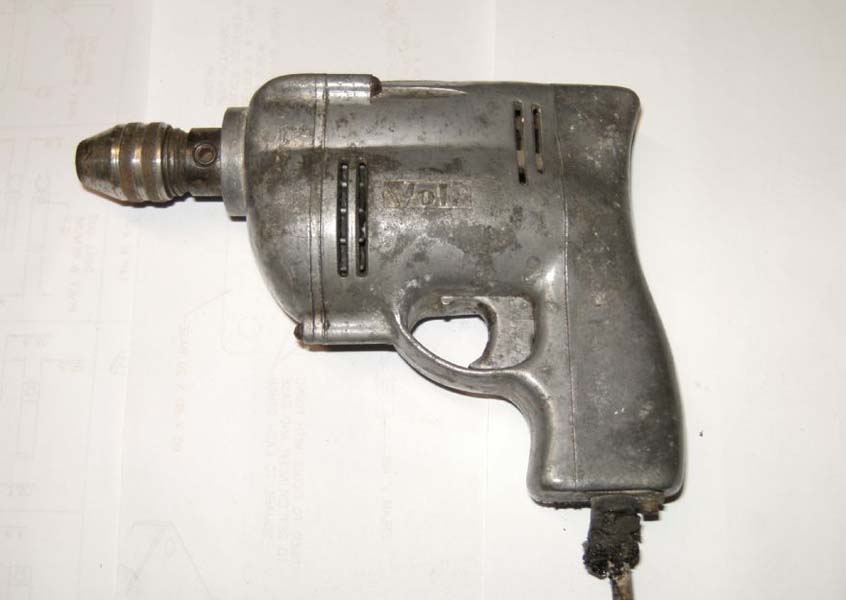 Keith reckoned he had been a woodturner for 60 years, starting with a Wolf Cub drill and lathe attachment on his bedroom floor as a boy.
In reality he started in 2012 with a Record CL1 lathe.

After a potted history of his woodturning journey, Keith gave us a quick virtual tour of his workshop and the machinery within, admitting to having "gone over to the dark side" and bought a metalworking lathe.
Chess sets

A run through the development of chess over the centuries took us to the design Keith had settled on for his chess set - the St. George version. Keith's brief notes on chess history are available on a separate file.
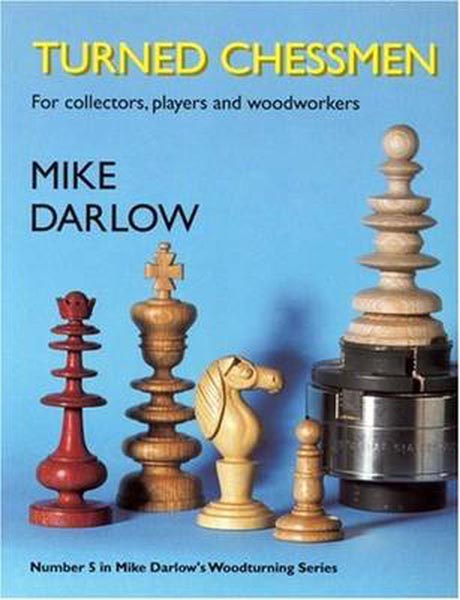
Keith took his designs from a book he had found by Mike Darlow. He actually had another book by the same author, called Woodturning Chessman, but it turns out that both books were identical inside, only the covers differ.
The book contains lots of photographs, and detailed drawings for the chess pieces, which include measurements.
Making a chess set

The blank was turned into correctly sized rings with calipers and parting tool, transferring dimensions from a card template onto the wood blank.

In his chess set, Keith has hollowed out the base, to take some lead weight which give the pieces more balance. He was unable to show this on the night because the 1MT to 2MT sleeve he needed to use with his tailstock tools got stuck and would not cme off his first centre.

Once the bishop was turned, it then required a split top cutting. This was done using a jig made to fit in the toolpost, which provided an angled platform for a tenon saw, to cut the slot in the top of the piece.

For the cross on top of the king, the basic cross shape was turned, and then flattened using a sanding disc on the lathe.
Keith pointed out the same process would work for other projects, such as a star on top of a turned Christmas tree.

Keith also talked us through how to cut the castellations on the rook, using the index system on the lathe, and his "dentist drill". Unfortunately the drill chose this moment in time to short out with a loud pop, and the piece could not be cut. In essence once again it involved using a jig to hold the drill steady as it moved across the end of the piece.
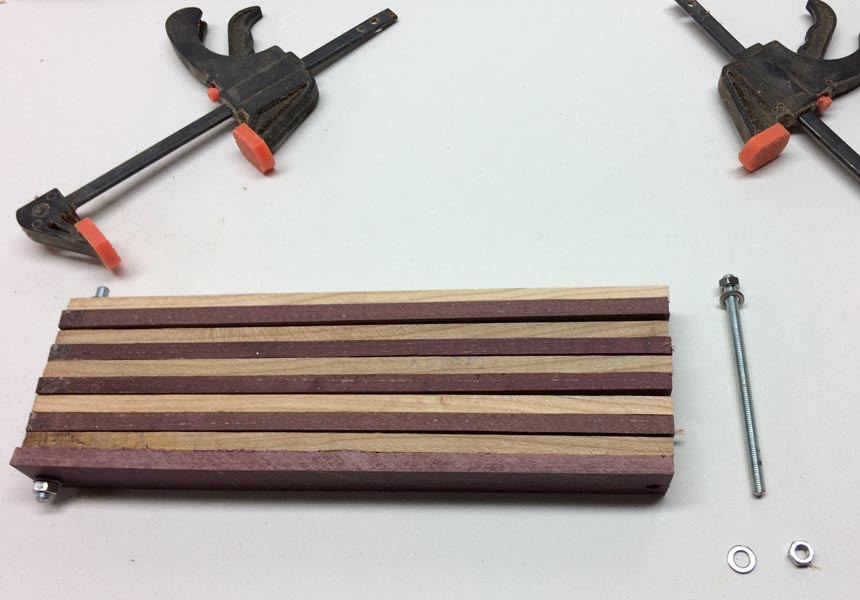
Keith also showed us how he made the board. 10 strips with extra length were screwed together through holes in the ends to pass through a thicknesser. These were then glued together, and cut across to create chequered strips.

These strips were then clamped up again and passed through the thicknesser a second time. Some damage occurs to the ends due to endgrain, but that is why they are 10 squares long, not 8. They were then glued on to an mdf backing board.
Some more photos mentioned during the evening
(Permission has beengranted by Mike Darlow for the use of photos from his book, Turned Chessmen. He advises that there is more in a 2021 book of his, Useful Woodturning Projects. Mike Darlow’s Website – Woodturner, Author & Demonstrater)

Charlemagne Set 11th c. Amalfi.

Jacques Staunton set

Chess board

Arab and Turkish sets

Keith's set

Spinning wheel

17th c. English set

Purple heart pieces

Cub lathe
St George set
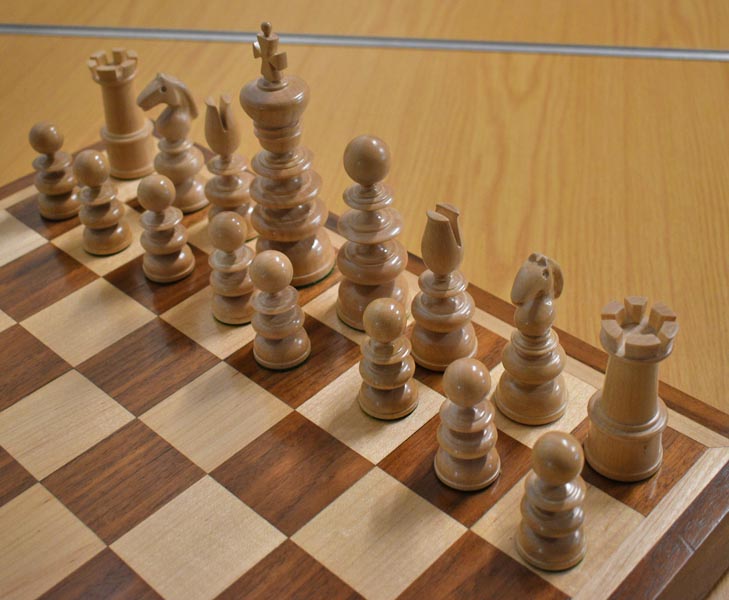
Sycamore pieces

Bobbins