×
![]()
Ryedale Woodturners
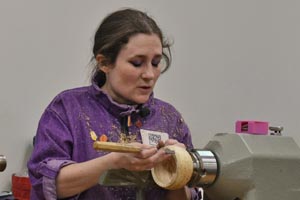
Emma Cook, The Tiny Turner
Thursday 6 April 2023
Snainton Village Hall
Emma Cook visited us once again after an absence of over three years, due to the Covid lockdown. She did do an IRD for us during lockdown, in June 2020.
It was good to see her back in person, having battled through some difficult traffic on the A64 and M1 to get to us. She turned a small ash bowl decorated with chameleon mica flakes, and a small platter decorated using a centrifuge idea.
Banded bowl with chameleon flakes
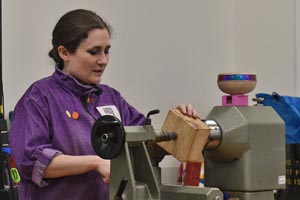
Emma started with a square blank of ash, about 5 x 3" Turned to round with a 3/8" bowl gouge. She keeps her blanks square so if she gets a catch she can cut them down to smaller sizes. Starting from square does mean the tool rest needs moving in fairly quickly, to keep the gap small, and gradually increasing the speed as the blank became more balanced.
It was roughed out with just one wing of the gouge, leaving the other to do finishing cuts and avoid the grinder. Which sides became top and bottom was determined by the spalting patterns, which were desirable enough to preserve, putting the coloured band on the plainer side.
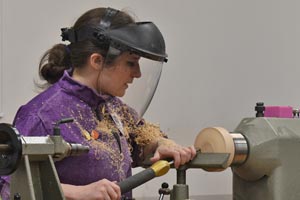
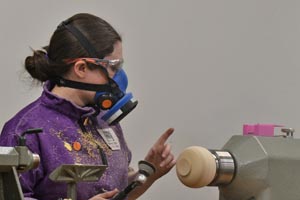
A foot was turned, paying close attention to its diameter matching the jaw diameter, so it could be used as a spigot without any significant jaw marks being left. It was sanded smooth with a hand-held rotary sander, with Emma donning her filter mask for some protection.
With the bowl turned to shape, Emma sliced away some dimples in a band around the bowl, using a (sharp) carving gouge. V-grooves were then cut to define the band using a parting tool at an angle. The colour change flakes that Emma uses work best on surfaces which have lots of different angles and this creates them. Once textured, a black gesso was applied to the band. Gesso is a gritty paint which provides a keyed surface on which the final coat will stick.
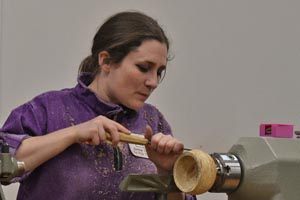
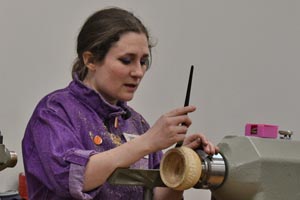
Gesso dries quickly. The next coating applied was metallic size. This is smooth and milky when applied, and then becomes clear and tacky as it dries - and it normally needs 15 minutes. It does need warmth. To speed things up for the demonstration, Emma used a hairdryer. It can then dry quite quickly - only giving a few minutes to apply the coating.
Emma's chameleon flakes were then applied with a brush - she used the Dragon version. These give a two-tone metallic sheen to the band. They are very light and will float around, so some form of cover on the lathe is advisable. These are pretty hard wearing because they lay down completely flat.
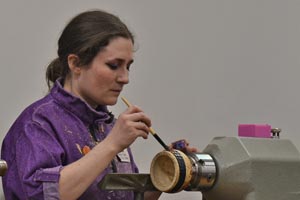
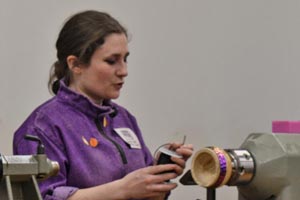
A thin leather cord was glued into the two V-grooves that bounded either side of the coloured band. Emma likes cord sourced from America. You can put wax, lacquer or varnish over the flakes for a little protection. It won't change the colours but it will dull the lustre a little.
The finished bowl with coloured band was passed around. It was not fully finished, but enough to give the idea and show the techniques. Notice the spalting still clearly present in the lower half of the bowl - Emma always tries to preserve natural features, and sometimes will not colour an item if the wood itself is already very decorative.

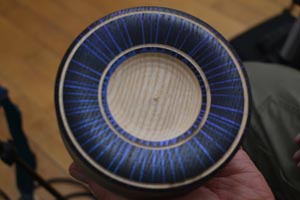
Centrifuge pattern on a small platter
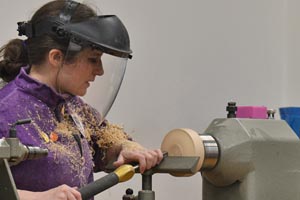
Emma moved on to a second piece, a small platter which would be decorated with a centrifuge design. She created the platter rim leaving a centre which would be turned away at the end, then sanded it in preparation for the colouring. A 5 x 2" square blank was used - too thick, so in the workshop use the extra width to practice and try out ideas as you turn it away. Only the front of the platter was turned for the demonstration.
The surface of the platter was rounded, not flat - the colours are not as vibrant on flat. When sanding, Emma encouraged us not to be afraid to use the lower grades to start - get the surface smooth, don't think that pressing on hard with a finer grit will work, it will just build up heat and lead to problems.
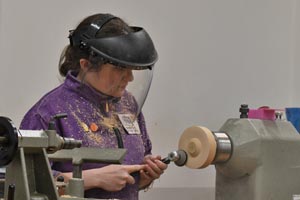
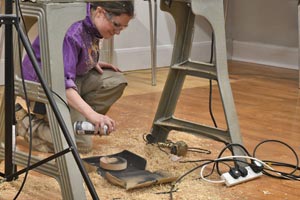
A black base coat was applied to the surface using ebonising lacquer. This was sprayed on with the piece on the floor inside a cardboard tray. Make sure the lathe surface is cleaned down, otherwise dust and shavings may be knocked on to the paint area. The finish needs to be a little shiny, not matte.
Normally this would be left to dry overnight, but to speed things up Emma used her hairdryer. Any patches not totally dry can cause the flakes or dust not to settle evenly. Size was applied quite thickly. You need to move quickly to spinning it on the lathe before it dries out.

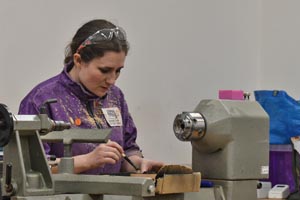
A black base coat was applied to the surface using ebonising lacquer. This was sprayed on with the piece on the floor inside a cardboard tray. Make sure the lathe surface is cleaned down, otherwise dust and shavings may be knocked on to the paint area. The finish needs to be a little shiny, not matte.
Finally the centre was turned away to include some wood in the design, and two bands were grooved in with a parting chisel at an angle. These help to frame the colouring, and also give something of an optical illusion to help balance out the different areas - thirds are always a good guide to aim for.
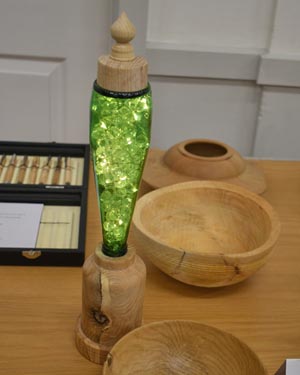
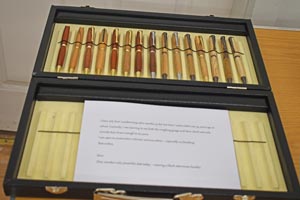
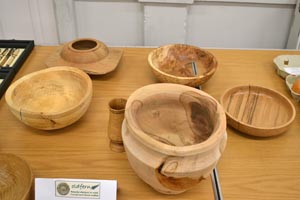
Some members' turning on show at the meeting