Ryedale Woodturners Club Demonstration

Chris Parker
Thursday 7 March 2024
Snainton Village Hall
We welcomed Chris Parker from Preston, the "bald headed woodturner" visiting Ryedale Woodturners for the first time.
Textured and coloured platter

Chris started by mounting a sycamore blank between centres, rather than using a screw chuck. This was to show an alternative method - he noted that some people find it difficult to unscrew a screw chuck, possibly as a result of disability or infirmity. Although the blank looked a little grubby and dull, there would be hidden treasures underneath.
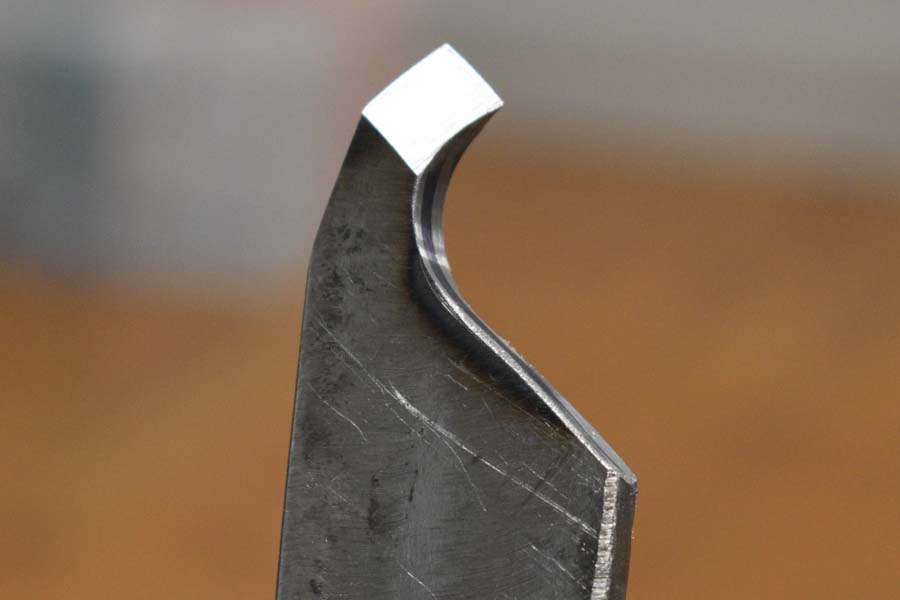
To create a spigot for holding the piece, Chris used a small pencil block he had taped together so that when rested on the tailstock drew a circle of the correct radius. Then he used a bespoke tool he had made, that allowed access near the centre of the blank.

The blank was reversed, held on the spigot, and turned to shape with a bowl gouge. A negative rake scraper ws then used to refine the surface near the centre - any improvement on the finish will reduce the amount of sanding needed. The scraper was carbon steel, not HSS: the blade will wear out more quickly, but a better burr is created on carbon steel, making the scraping technique more effective.
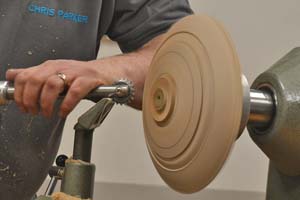
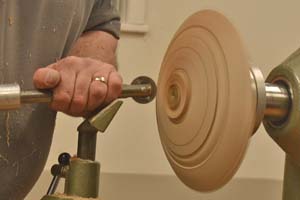
Some texturing was added to the bottom of the platter. It was split roughly into thirds, and then the texture applied at 2/3 from the centre. A Sorby tool was used, with different wheels producing different patterns in concentric rings.

The platter was reversed onto the spigot, then trued up. Lines were put on to divide the surface roughly into thirds, with the intention of the outer third falling away, the middle third sloping towards the centre. The centre was left for further hollowing out, the other bands would have colour applied.

With the platter turned and smoothed to profile, marbling paint was applied from an aerosol spray. (This is available from Amazon at around £13.) Following this an airbrush system with a very quiet small compressor (again quite cheap from Amazon ) was used to apply a couple of different shades of paint. Start with the lighter shades first to avoid having to clean out the airbrush between coats.

Normally the paint would be allowed to dry overnight, but for demonstration purposes Chris moved on, shaping the centre area and creating a clear definition between the paint and the exposed wood. Up to 9 coats of (spray) lacquer would be applied if a glass like finish was required.

The finished platter was handed round for closer inspection. An example of turning, texturing and colouring techniques, with opportunities for variation in size, shape, pattern and colour.
End grain bowl

A block of ash was mounted between centres, about 6 x 5 x 5". It was turned to round with a bowl gouge, and a spigot put on one end (using the spigot-marking-pencil-thing).

A band was marked out near what would be the top of the bowl, and Chris decided on a three-groove decoration inside this band, using a spindle gouge (I think). To clean up the grooves he used a nylon brush on a power drill.
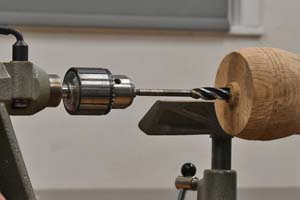
A 16mm drill was used to create a hole down to the intended depth of the final "bowl". This provided a starting point for the hollowing tool which was to be used. You will find that with endgrain a bowl gouge will not be happy, until the later stages as you near the edge of the form.


As hollowing nears the edge it becomes eaier to use a bowl gouge and a scraper, to give a smoother finish. Then the inside was sanded out with a long stemmed arbor - made by gluing a standard arbor into a drillbit extender.

With the inside smooth, it was sealed and then sprayed with an ordinary aerosol spray and stone effect spray - black granite - was used to give some colour and texture to the inside of the piece.

Time didn't quite allow the bowl to be completely finished, but Chris did show all the techniques involved in creating it. Without time pressure, more car would be given to masking off the bowl while spraying, and a final cut might be taken to define where the paint meets the wood.