Ryedale Woodturners Club Demonstration
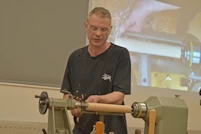
Dan Fearnley
Thursday 3 April 2025
Snainton Village Hall
We welcomed Dan Fearnley, who is based in Pickering, demonstrating for the first time.
Pyrographed child's Windsor style stool
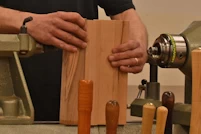
Dan started with four matching spindle blanks, about 2 inches square and 9 inches long. It is worthwhile starting with all four blanks the same, particularly in length, reducing issues and measurements later.
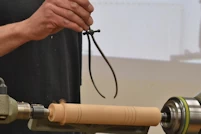
A blank was turned to round with a roughing gouge. Dan then used a previously prepared wooden template to determine the position of the beads on the resulting spindle, and four sets of calipers to size at various points, leaving the wood slightly larger than required at each point. The calipers were all different sizes, meaning Dan could lay them out in order and know which was to be used at each measuring point.
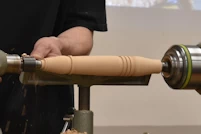
The beads were sized and then marked using a point tool - very useful, one can be made from a worn down gouge. Then the top of the leg was tapered into the bead with a spindle gouge, and out to the top with a roughing gouge - one of Dan's favourite tools for creating a smooth curve. The top was checked with calipers to ensure it was still slightly larger than the hole it was to fit in to be finished once holes were drilled.

The centre section and bottom of the leg were finished in similar fashion, a small nib left at the bottom, the width of the parting chisel, to allow for remounting if necessary. To be cut off when everything is finished. Dan didn't repeat the process four times, he used the Blue Peter technique to complete the set. He tested them for height - particularly looking to match the heights where the beads were. Adjustments could be made by a little sanding, or drilling some holes a little deeper than others.
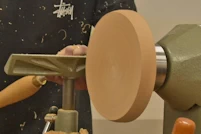
Moving on to the seat, this was turned flat held on a spigot, using a bowl gouge and a scraper. He wanted it flat so that the intended pyrographed picture would not be distorted. He also rounded the rim using a bowl gouge, being careful not to lift any endgrain on the edges. The spigot could be removed later with a vacuum chuck if one was available, or with Cole jaws, or most of it with a jam chuck, but Dan admitted to sometimes just sanding it off on a belt sander, or using a sanding mouse.

With the seat turned (sanding left out to minimise dust in the hall), Dan moved on to talk about setting up and using a drill press for the holes which would take the legs. A 1¼" Forstner bit was used, with the table set at 10 degrees. Lines at right angles were marked out across the stool, and holes drilled to a depth using the bit as a gauge to depth.
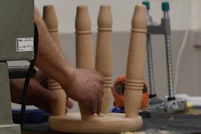
The legs were checked for a good fit, but not glued in place (purely for demonstration time limits). Time to sort the lengths out and check for good balance. Dan preferred rounded ends on this stool, reasoning that children were likely to be using it on carpet, rather than a hard surface. A little wobble was solved with a quick touch up on one leg with the sanding mouse. A flat end to the legs might be more suitable if it was, say, a step-up stool to be used in a kitchen.
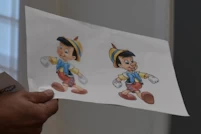
Tme to move on to decorating the seat. Usually there would be a text inscription - such as the child's name and date of birth - but for demonstration purposes Dan went with a cartoon character: Pinocchio seemed like a good choice for a woodturner (but don't tell Disney®). The character was printed in reverse, and then outlined with a pencil on the reverse side, ready to rub onto the wood. An alternative method would be to hold the paper against a window and outline on the reverse side.
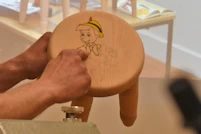
The outline was then pyrographed onto the seat (using the "here's one I did earlier" method). Burning a groove into the wood creates a barrier for when ink is applied, restricting it from flowing through the grain and bleeding out of the required areas. Choice of grain direction should be considered - here it is at a diagonal to the character, and on reflection might have been better horizontal.

Dan has experimented with various inks, pencils, paints and stains, before settling on these 0.3mm felt tip pens as a good solution for colouring. They are relatively inexpensive, come in a large variety of colours, and are accurate in application. Once dry, to fix them he creates a mask by cutting out the character from the paper, then overlaying it on the seat and applying a few coats of Acrylic Spray lacquer. Once dry, the rest of the stool can receive an oil or wax finish.

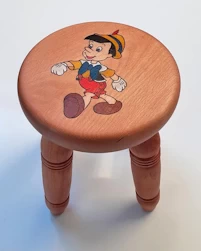
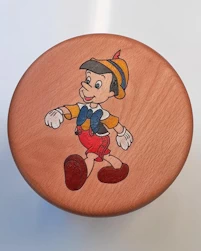
The stool was finished after the demonstration, and will be available to see at the next club night (1 May), unless it gets sold before then!